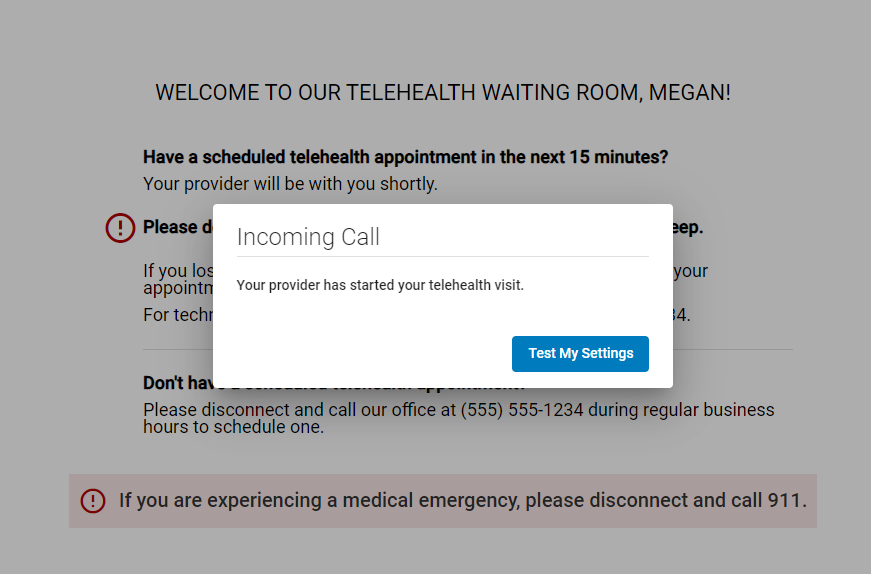
When your provider starts your appointment, you will hear a ringing sound and you will see the prompt below. Select Test My Settings to test your audio and video settings prior to your call.
Check Audio & Video Settings
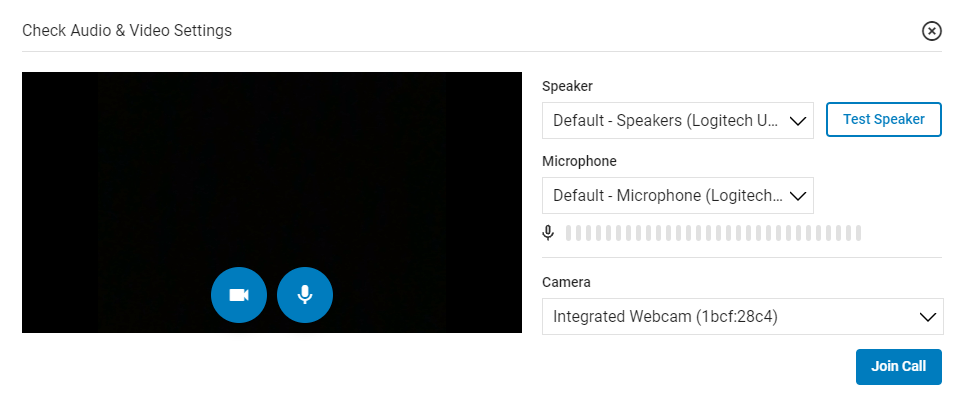
After selecting the Test My Settings button, you will see the Check Audio & Video Settings window. In this window, you can test your speaker, microphone, and camera, and change each of these to a different device if necessary.
To test your speaker, select the Test Speaker button. If your speakers are working properly, you will hear a ringing sound.
To test your microphone (make sure you unmute your microphone by selecting the microphone icon), speak into your microphone. The microphone meter registers any input from the currently selected microphone.
To test your camera, toggle the camera on and off by selecting the camera icon.
To modify the devices for your speaker, microphone, or camera, select an alternative device from the dropdowns for each.
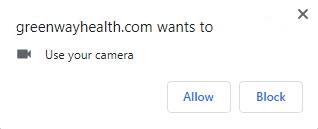
Additionally, after selecting Join, you may also be asked to allow the site to access your microphone and camera. Select Allow for both prompts.
If you are having difficulty seeing or hearing yourself or your provider after joining a call, see the Camera Issues or Microphone Issues help topics for possible solutions.
When you are done testing or modifying your audio and video settings, select the Join Call button to join the call, or select the X to exit the window.
Notes
-
If you mute (or unmute) either your camera or microphone in the Check Audio & Video Settings window, your camera or microphone will be muted (or unmuted) when you join the call.
-
The Check Audio & Video Settings window remembers your previous selections the next time you start a call. For example, if you previously muted your camera and microphone in the Check Audio & Video Settings window, your camera and microphone will be muted the next time you see the window.
-
The Check Audio & Video Settings window appears for every Greenway Telehealth™ call you join.
-
If can modify your audio and video device settings while in a call by selecting the
 icon to modify them in the Device Settings window.
If you are having difficulty hearing or seeing your provider, see the Camera Issues or Microphone Issues help topic for some common solutions. If you continue to have difficulty, please contact your provider's office. See the Device Settings help topic for more information on configuring your audio and camera devices while in a call with your provider.
Be sure that both the camera and microphone icons are enabled.

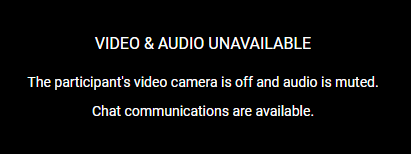
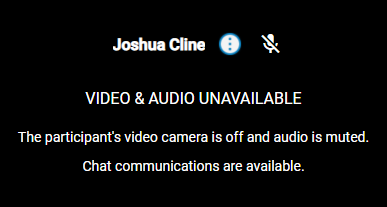
If your provider's audio and video is unavailable during your virtual visit (either because the provider turned off the microphone and the camera, or because of microphone and camera issues), you will see the following message:
If your provider's video camera is turned off, you will see the following message:

If your provider mutes the audio while in a call, you will see the following icon next to the provider's name:
Maximized, Focused, and Grid Views
While in a call with your provider, you are able to select how you want to view and interact with the participants. You can select either a Maximized View, a Focused View, or a Grid View.
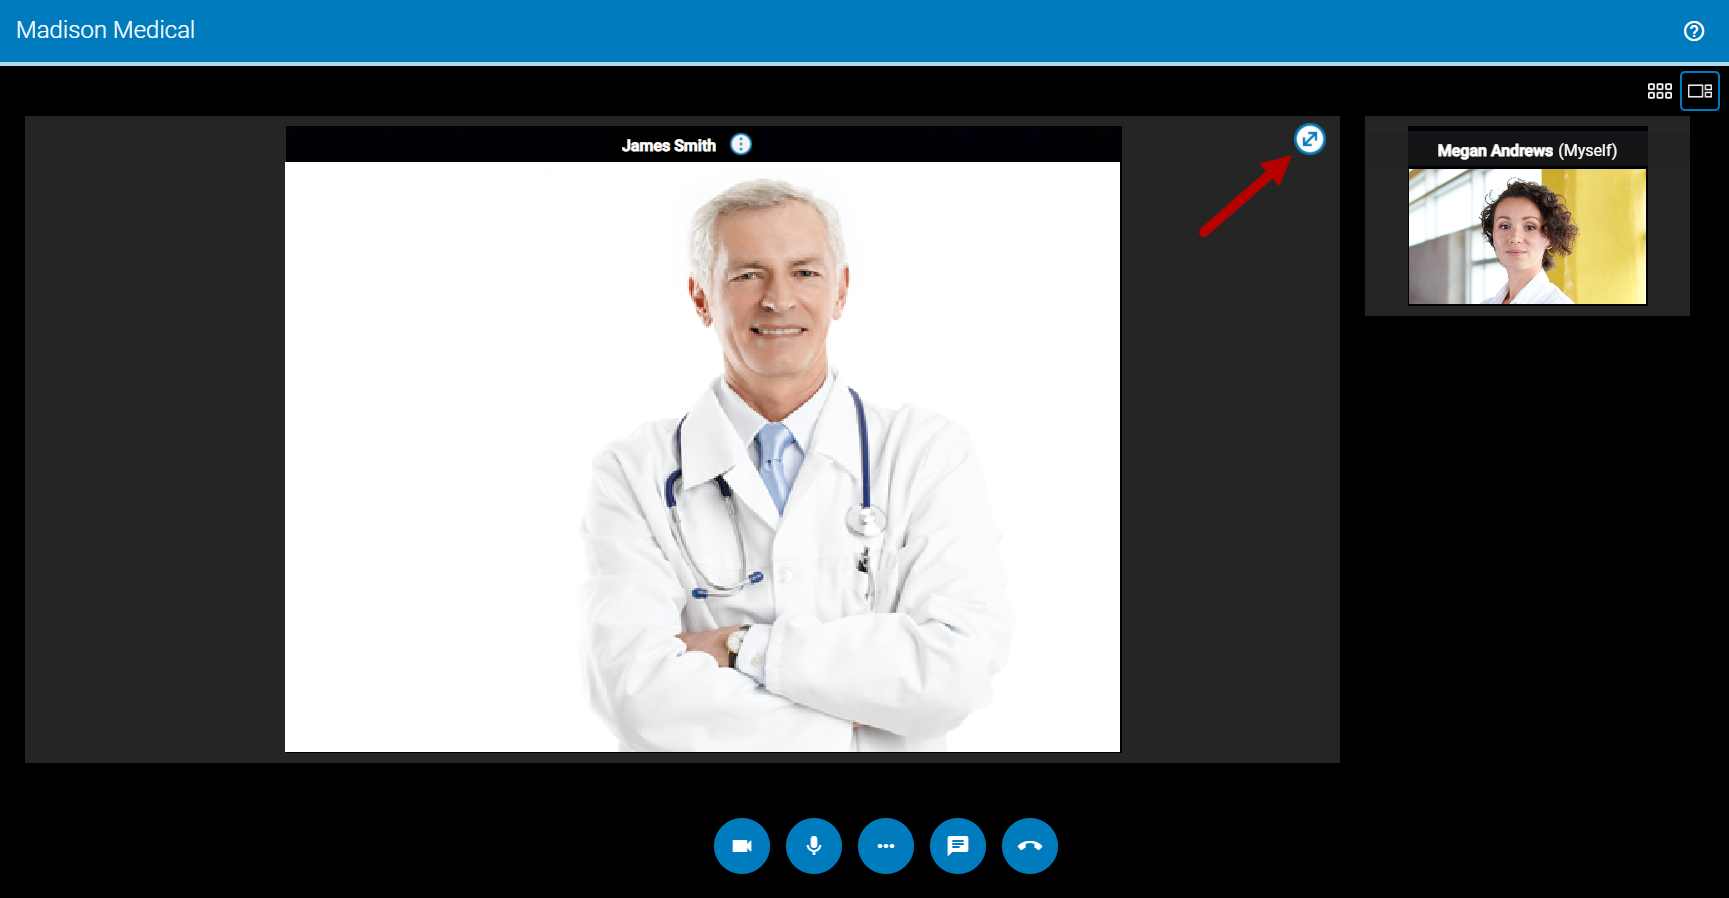
Maximized View
To maximize the participant that is currently in focused view, select the arrow icon ![]() in the upper right-hand corner.
in the upper right-hand corner.
When in maximized view, your video will be hidden and your provider's video enlarges. To return to the focused view select the arrow icon ![]() .
.
Focused View
To enable Focused View select the ![]() icon above the your video column.
icon above the your video column.

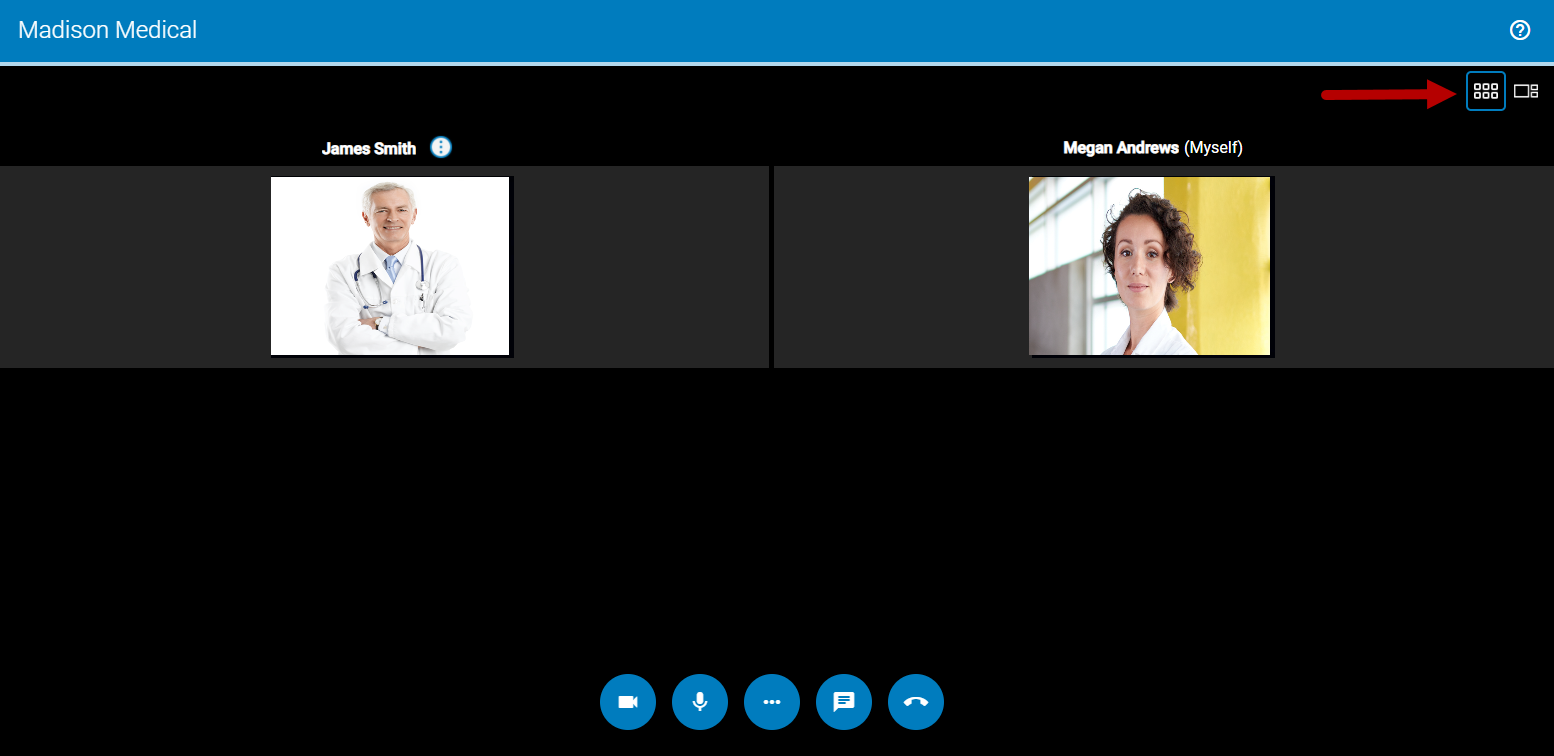
Grid View
To enable Grid View select the ![]() icon above the your video.
icon above the your video.
End Your Visit
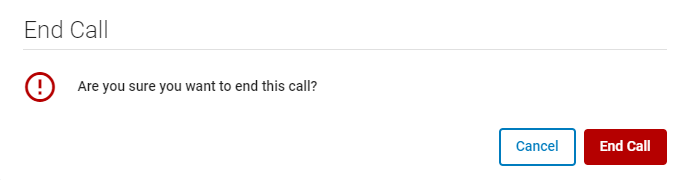
To end your visit, select the phone icon.
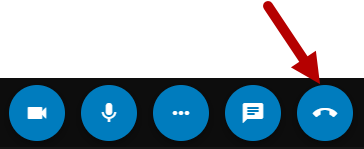
If you select the phone icon, you will see the following prompt. Select End Visit to return to your waiting room or Cancel to return to the virtual visit.
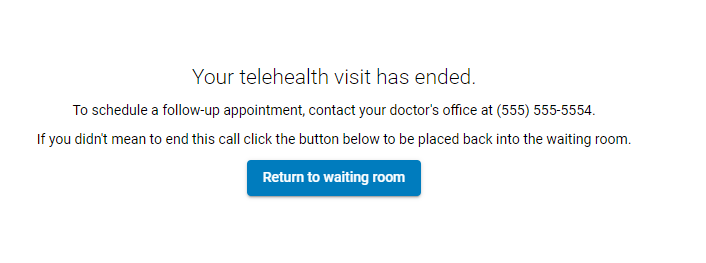
If you want to rejoin your provider's waiting room, select the Return to waiting room button. After doing so, you will need to wait for your provider to reinitiate the call. You will then need to select the Join button to join the call.
After selecting the Return to waiting room button, some patients may have to verify their appointment information. If you see the following prompt, select the Verify button if your appointment information is accurate, or the Unable to Verify button if you do not see your information:


